
You have a design ready. Or maybe just a rough idea. You want stickers for your brand, your event, your packaging. But the moment you search "order custom stickers," you're hit with dozens of options — different materials, cut types, laminations, quantities, turnaround times. The terminology alone is enough to make you close the tab.
Here's the truth: ordering custom stickers isn't complicated. It's just poorly explained. Most printer websites throw specs at you without context — as if everyone walks in knowing what "kiss cut" or "BOPP" means.
After 24 years of manufacturing custom stickers, we've guided thousands of first-time buyers through this exact process. This guide strips away the jargon and gives you a clear, actionable workflow — from defining what you need to holding the finished product in your hands. No fluff, no upsells, no confusion.
Jokeystickers fact: As a factory-direct manufacturer, we print every order on our own production floor. When you ask a question, you're talking to the people who actually make your stickers — not a middleman reading from a script.
Before you open a single quote form, answer these four questions. They determine every decision that follows — and prevent you from paying for features you don't need.
1. What size are your stickers?
Measure the longest dimension of your design in inches. Common sizes for logos: 2"–3" on the longest side. For product labels: 3"–4". For giveaways and laptop stickers: 2.5"–3.5". If you're unsure, print your design on paper at different sizes and stick them where they'll go — it's the fastest way to visualize.
2. Where will the stickers be used?
This single question determines material and lamination:
3. How many do you need?
Be realistic about quantity. Sticker printing has high setup costs and low per-unit costs. The price difference between 500 and 1,000 stickers is often surprisingly small — because the setup work is the same, and you're just paying for materials. If you'll use them within a year, err on the higher side.
4. What's your budget per sticker?
Even a rough range helps. Standard die cut vinyl stickers in 1,000+ quantities typically run $0.07–$0.25 per sticker. Specialty materials like holographic or foil cost more. If your budget per sticker is under $0.10, vinyl die cut at higher quantities is your sweet spot.
Skip the guesswork. Tell us your size, intended use, and approximate quantity — and we'll recommend the optimal material, cut type, and lamination for your specific project. Get a personalized recommendation →
Once you know your requirements, the next decision is format. This is where "die cut," "kiss cut," and "sticker sheet" come in — and choosing wrong means reprinting. Here's how to pick.
Cut through the material AND the backing paper — each sticker is an individual piece shaped exactly to your design. Shop die cut →
Choose this when: You're handing stickers out individually (events, giveaways, packaging inserts). Your design's shape is part of its appeal (a logo that's not rectangular). You want a premium, standalone product.
Don't choose this when: You need multiple small designs on one sheet, or you need the backing for protection during shipping.
Cut through the material but NOT the backing — multiple stickers share one backing sheet, peeled off individually. Shop kiss cut →
Choose this when: You want multiple designs in one pack. You're selling sticker sets at retail. You want the backing to protect stickers until use.
Multiple stickers printed and kiss-cut on a single sheet — a themed collection in one product. Shop sticker sheets →
Choose this when: You're creating a sticker pack for resale. You want a retail-ready display product. Subscription box inserts or merch sets.
Continuous rolls of stickers on a liner — ideal for high-volume application. Shop rolls →
Choose this when: You're applying stickers to hundreds or thousands of packages. You use a label applicator machine. Efficiency and speed matter more than individual presentation.
Still unsure? Here's a quick decision tree:
| Your Use Case | Go With |
|---|---|
| Handing out individual logo stickers at events | Die Cut |
| Selling sticker packs in your online store | Sticker Sheets |
| Multi-design pack for giveaways | Kiss Cut |
| Applying labels to products in bulk | Rolls |
Related: Die Cut vs Kiss Cut Stickers: Full Comparison with Photos
A great design file is the difference between stickers that look exactly like you imagined and stickers that arrive with blurry text, wrong colors, or white edges. Spend 10 minutes here to save a reprint.
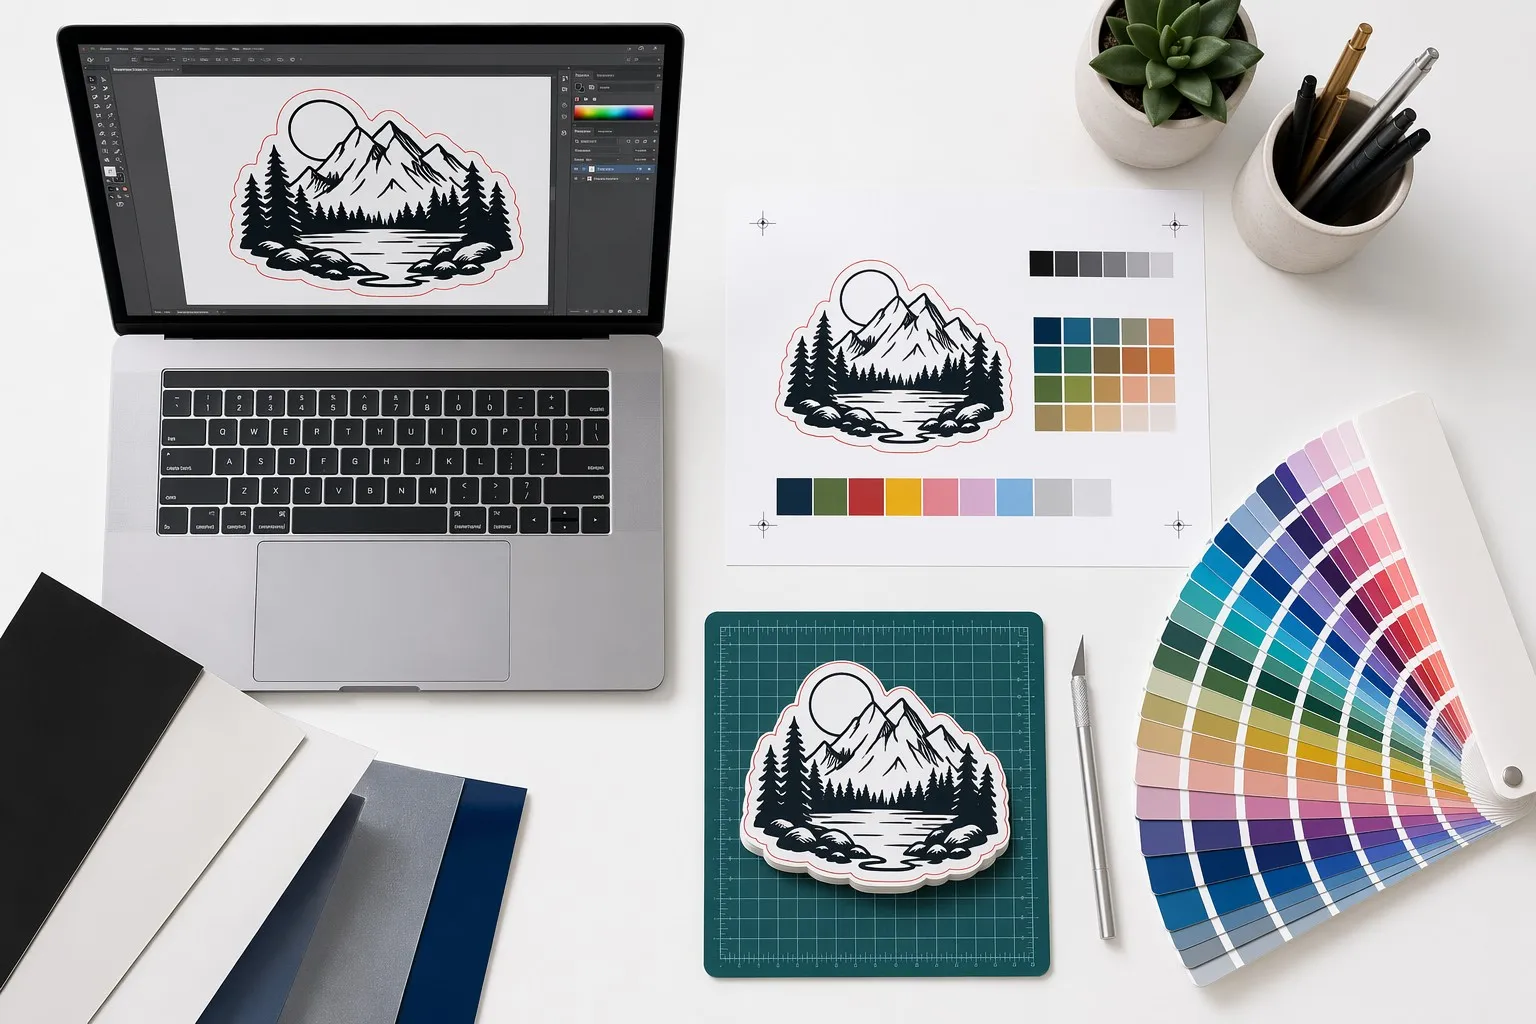
You have two options:
Option A — Send a rough concept. A rough sketch, a Canva mockup, even a napkin drawing works as a starting point. A good printer can refine it into print-ready artwork. Expect a small design fee for professional artwork creation — typically $25–$75 depending on complexity.
Option B — Hire a designer first. If your sticker is customer-facing (packaging, retail product), invest in professional design. It's a one-time cost that pays for itself in perceived quality. Our team can recommend the right file specs for any designer to follow.
Related: Common Design Mistakes That Cause Reprints (And How to Avoid Them)
Not sure your file is print-ready? Upload it when you request a quote, and our pre-press team will check it for free — we'll flag any issues before production starts.
You've defined your requirements. You've chosen your format. Your artwork is ready. Now: where do you actually order?
Many "custom sticker" websites are not manufacturers. They're resellers — they take your order, forward it to a factory, and add 40–100% markup. The sticker you order for $200 might cost $110 from the factory that actually prints it.
How to spot a reseller:
Factory-direct means:
Jokeystickers handles everything in-house — learn about our 24-year manufacturing history and our eight international certifications.
When you receive a quote, make sure it includes:
Related: How Much Do Custom Stickers Cost? Full Pricing Breakdown
This is the most skipped step — and the most regretted one. Colors on a screen are not colors on a printed sticker. A material described as "glossy" can look premium from one printer and cheap from another. A sticker that feels thick and durable in your imagination might arrive thin and flimsy.
At Jokeystickers, we offer free physical samples before production. Here's how it works:
If a printer won't send samples or charges an unreasonable fee for them, treat that as a red flag. A manufacturer confident in their quality has no reason to hide behind a screen.
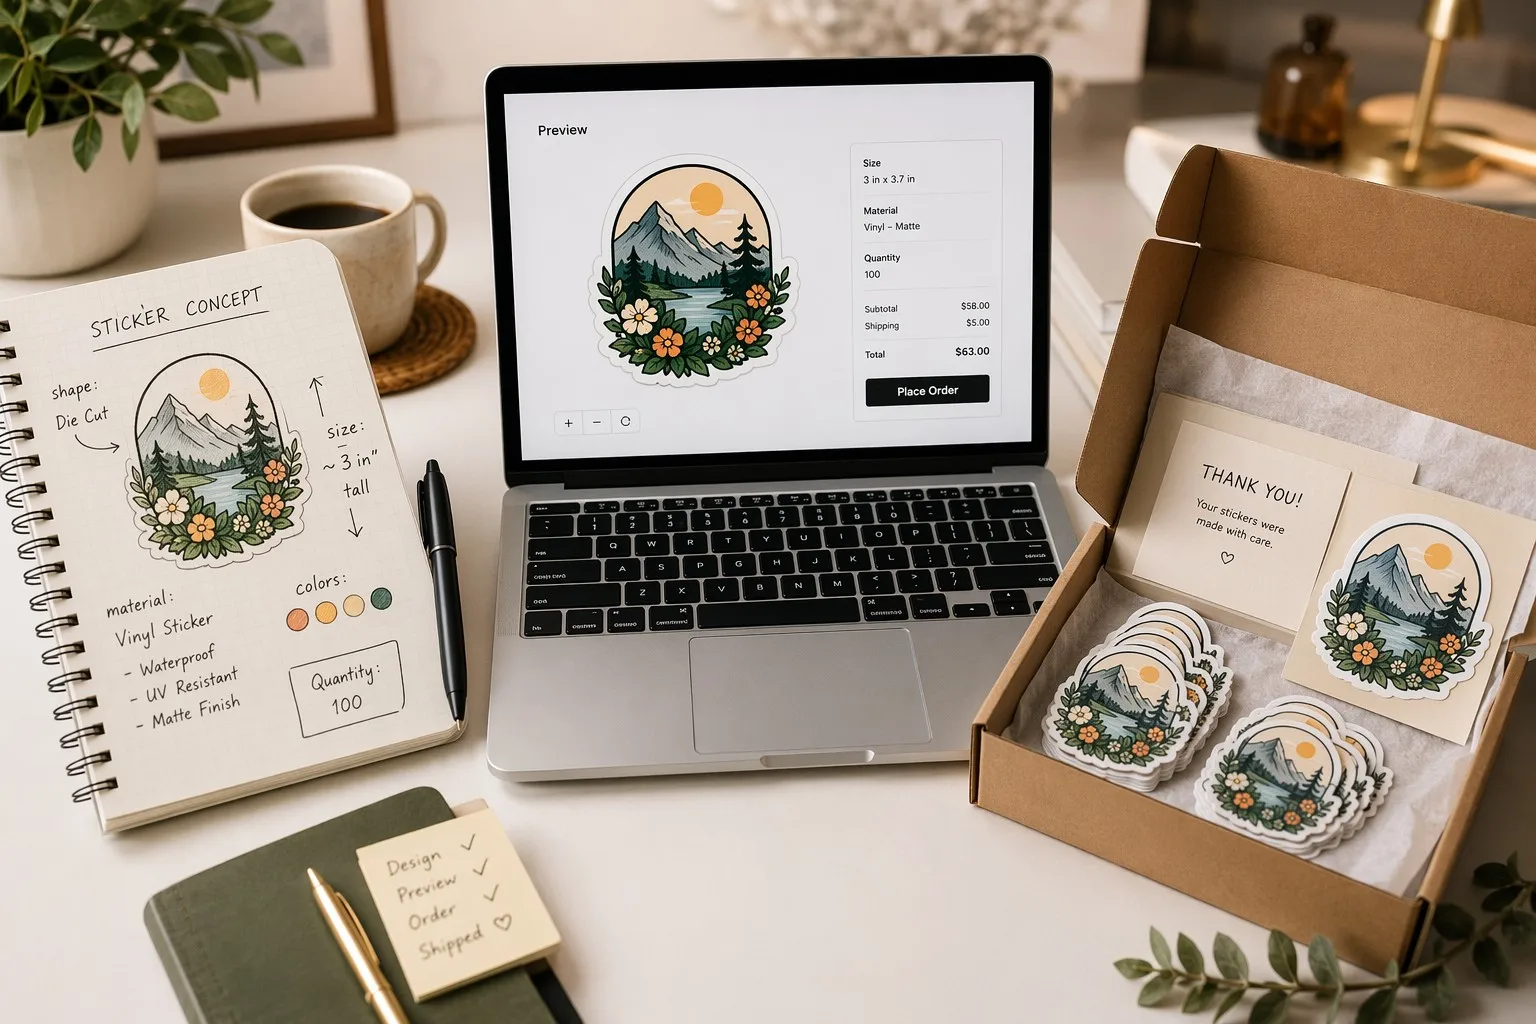
Want to see and feel your stickers before you commit? Request your free sample kit → — we'll print your design on your chosen material and ship it to you, no cost, no obligation.
You've compared quotes, requested samples, and chosen your printer. The finish line is close. Here's what to expect in the final stretch.
Your printer will ask for:
Before production starts, you should receive a digital proof — a PDF or image showing exactly how your sticker will look when printed. This is your last chance to catch mistakes.
Look at the proof on a large screen, not your phone. Check:
Once you approve the proof, production begins — and changes after this point usually incur additional costs.
| Order Size | Production Time | Standard Shipping (US) | Total |
|---|---|---|---|
| < 1,000 stickers | 3–5 business days | 5–10 business days | ~2 weeks |
| 1,000–10,000 stickers | 5–7 business days | 5–10 business days | ~2–3 weeks |
| 10,000+ stickers | 7–12 business days | 5–10 business days | ~3–4 weeks |
Rush production is usually available for an additional fee — mention it when you request a quote if you're working against a deadline.
Ordering custom stickers doesn't have to be a gamble. Define your requirements clearly, choose the right material and format, prepare your artwork correctly, and work with a printer who communicates transparently — and the process is smooth from start to finish.
Jokeystickers has been manufacturing custom stickers for 24 years. We're a factory, not a middleman. That means factory-direct pricing, free samples before production, and direct communication with the team that prints your order. We hold eight international certifications including ISO, FSC, UL, and REACH.
Free samples · Factory-direct pricing · 24-hour quote turnaround
Upload your artwork (or rough sketch) and tell us what you need — we'll handle the rest.
Get Your Free Quote →Explore our most popular products:
Total turnaround — from placing your order to receiving stickers at your door — is typically 2–3 weeks for standard US shipping. Production takes 3–7 business days, and shipping adds 5–10 business days. Rush production is available. Contact us for expedited timelines.
Many resellers enforce high minimums (500–1,000 stickers). As a factory-direct manufacturer, Jokeystickers offers flexible minimums. Tell us what you need and we'll work with you — even on small runs. Request a quote with your quantity.
Yes — and you absolutely should. We provide free physical samples printed on your material of choice before running production. This lets you verify colors, adhesion, and material feel. Request your free sample →
Vector files (AI, EPS, PDF) are preferred — they scale infinitely without quality loss. High-resolution PNGs (300+ DPI at actual size, transparent background) work well too. Avoid JPEGs for anything with text or sharp edges. See our complete artwork guidelines →
For standard vinyl die cut stickers in 1,000+ quantities, expect $0.07–$0.25 per sticker. Smaller quantities cost more per unit due to setup costs. The four factors that drive price: quantity, size, material, and cutting complexity. Read our complete pricing guide →
Die cut stickers are cut through the material and backing — individual pieces shaped to your design. Kiss cut stickers are cut through only the material, leaving the backing intact — multiple stickers share one sheet. See the full visual comparison →
No problem. Send us a rough sketch, a Canva concept, or even describe your idea in words. Our design team can refine it into print-ready artwork. A small design fee ($25–$75) may apply depending on complexity — we'll quote it upfront before starting any work.
Yes. We ship to the United States, Canada, Europe, Australia, and most international destinations. Shipping costs and timelines vary by region — contact us with your location for a shipping estimate.
Absolutely. We keep your artwork and production specs on file, so reorders are faster and consistent — same material, same colors, same quality. Just reference your previous order when you get in touch.


