
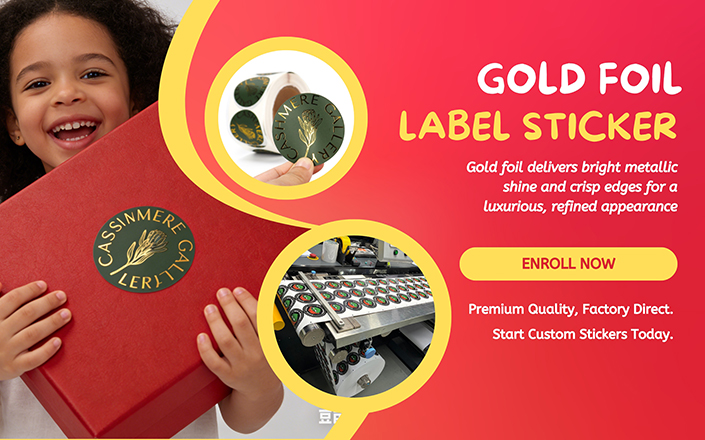
Gold foil printing has become one of the most influential methods for making products look premium and memorable. Whether you work in retail, handmade crafts, beauty products, or luxury packaging, gold foil instantly elevates visual appeal. A gold foil sticker is especially popular because it combines decorative beauty with practical functionality—easy to apply, long-lasting, and suitable for both small businesses and mass production.
In this comprehensive guide, you will learn exactly how to print gold foil, what materials are required, and when to choose DIY methods versus professional printing. We will also explain how gold foil works on different materials and how to select the best technology for your project—whether that is a custom logo gold foil sticker, a waterproof personalized gold foil sticker, a branding packaging gold foil sticker, or a small batch custom gold foil sticker for testing market demand.
By the end of this article, you'll be able to confidently decide which gold foil method fits your needs, understand the production workflow, and prepare your projects for the best possible results. Let’s get started.
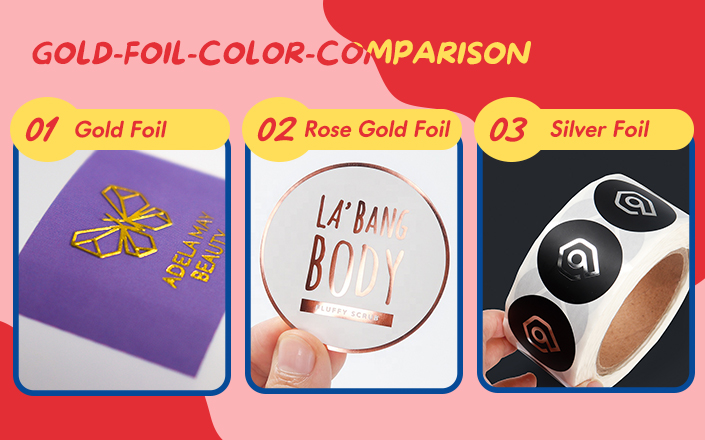
Gold foil printing stands out because it uses real metallic film instead of ink. The metallic layer reflects light, producing a luxurious shine that no traditional CMYK printing can replicate. This visual effect strongly impacts how customers perceive a brand. According to Forbes, high-quality packaging can increase perceived product value by more than 30%.
This is why brands use gold foil for premium labels, packaging, certificates, beauty products, wedding invitations, and, of course, gold foil sticker production.
Gold foil adheres to a surface when heat, pressure, or UV-activated adhesive comes into contact with the metallic layer. This creates crisp edges, bright reflection, and a smooth finish. The adhesion process differs based on the printing method:
Each technique creates the same shiny effect but with different durability and cost.
Gold foil stickers provide several advantages:
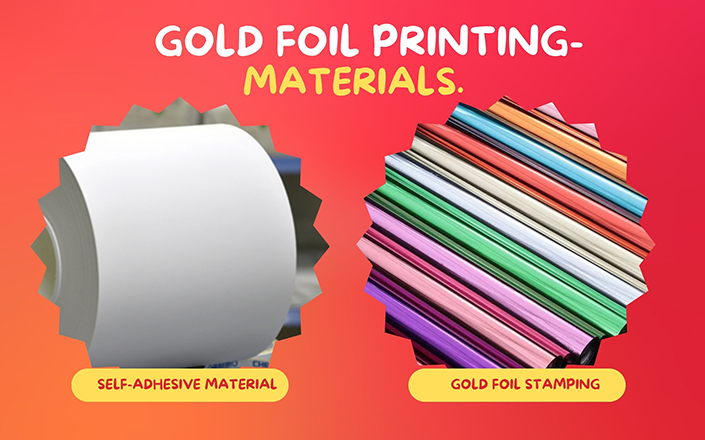
To print gold foil effectively, you need materials designed for heat and pressure resistance. Professional results depend heavily on selecting the correct tools.
Here is what you’ll typically need for gold foil printing:
When the final product requires durability—like cosmetic labels or beverage bottles—vinyl or PET is recommended, especially for waterproof personalized gold foil sticker designs.
Different foil types create different results:
Your choice directly affects how your gold foil sticker looks under different lighting conditions.
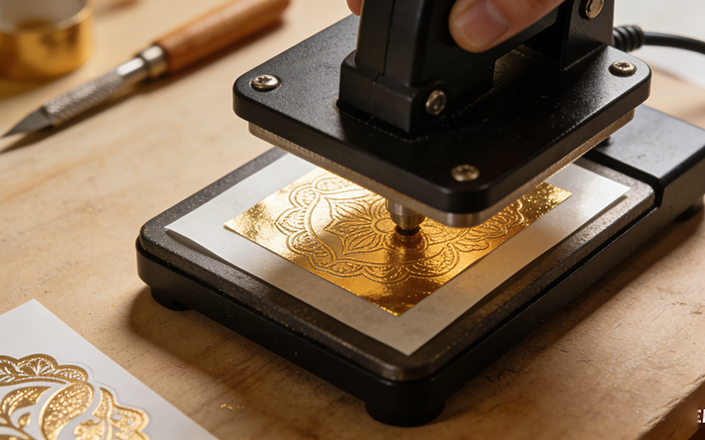
DIY gold foil printing is ideal for beginners, handmade sellers, small brands testing prototypes, or limited edition packaging. Here’s a clear and practical step-by-step method.
Gold foil adheres to toner, not ink. Always use a laser printer.
Print your artwork using solid black areas—black produces the strongest foil transfer.
Cut a piece of gold foil sheet large enough to cover all the printed areas.
Position it shiny side up over the artwork.
Run the sheet through a laminator or heat press.
The recommended temperature is 120–140°C, with steady pressure for about 20–30 seconds.
The heat melts the foil adhesive and bonds it to the toner.
Once cooled, peel off the foil gently.
You should see clean, bright gold foil sticking to your printed shapes.
This method works perfectly for greeting cards, invitations, labels, and small batch custom gold foil sticker prototypes.
You can cut with scissors, craft knives, or digital cutting machines for more detailed outlines.
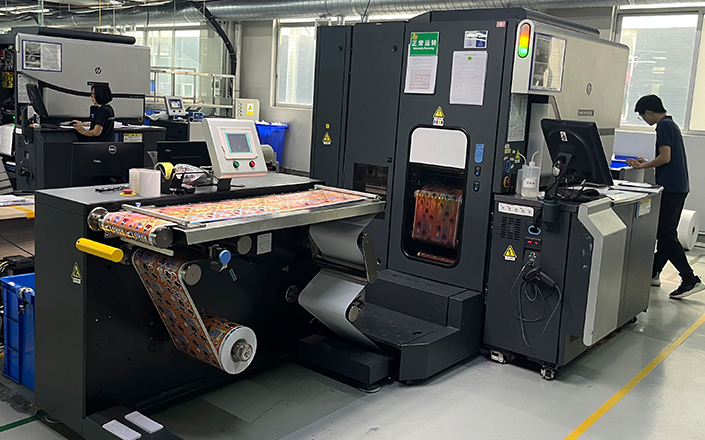
For brands requiring consistent quality, higher durability, and mass production, professional gold foil printing is the best choice. Below are the most effective commercial techniques.
This is the traditional and most premium method.
A heated metal die presses foil onto the material using pressure.
Advantages:
Ideal for luxury labels, certificates, premium boxes, and branding packaging gold foil sticker production.
Cold foil uses UV-curable adhesives and is applied inline during the printing process.
Advantages:
Not as embossed as hot stamping, but excellent for modern packaging needs.
No dies, no plates—perfect for short runs and personalization.
Excellent for:
Selecting the best method depends on quantity, budget, and your desired finish.
DIY works well when:
Professional gold foil printing is ideal when:
Material selection is essential:
For long-lasting labels, vinyl or PET is best for gold foil sticker production.
Yes. When printed on vinyl or PET, gold foil stickers can be fully waterproof and resistant to UV exposure. These materials are ideal for cosmetic products, bottles, and outdoor use.
A simple laminator works for DIY gold foil projects, although results will not match professional hot foil stamping.
Vector formats such as AI, SVG, and PDF are recommended for achieving crisp lines during hot stamping.
Digital foil printing allows small orders, while hot stamping typically requires higher MOQs due to die costs.
With proper materials, gold foil stickers can maintain shine for years. Vinyl and PET options last longer outdoors and in harsh conditions.
Gold foil printing is a powerful way to enhance branding, packaging, and product presentation. Whether you choose DIY foiling for small experiments or professional hot stamping for large-scale production, the result is always elegant and eye-catching. Understanding the tools and processes helps you produce consistent, high-quality gold foil sticker designs for any application—from personal labels to premium commercial packaging.
If you’re ready to create premium foil stickers for your brand, our team can help you compare materials, test foil types, and provide expert recommendations.


